
Knots are one of humanity’s oldest tools, dating back thousands of years. Whether you’re camping, boating, securing a load, or even just tying your shoes, knowing how to tie the right knot can make all the difference. In this blog post, we’ll explore 10 essential knots that are incredibly useful in everyday situations. We’ll provide step-by-step instructions for tying each one, along with tips on when and where to use them.
- Bowline Knot
The bowline is often referred to as the "king of knots" because it creates a secure loop that won’t slip or tighten under load. It’s perfect for rescue situations, tying a rope to a post, or creating a fixed loop.
How to Tie a Bowline:
Form a small loop near the end of the rope, leaving enough tail for the knot.
Pass the working end (the free end) up through the loop.
Wrap the working end around the standing part of the rope (the long end).
Bring the working end back down through the loop.
Pull tight to secure the knot.
Pro Tip: The bowline is easy to untie, even after bearing a heavy load.
- Square Knot (Reef Knot)
The square knot is a simple and effective way to join two ropes of similar thickness. It’s commonly used for bundling items, tying shoelaces, or securing packages.
How to Tie a Square Knot:
Hold one end of each rope in your hands.
Cross the right end over the left end and tuck it under to form a half knot.
Cross the left end over the right end and tuck it under to complete the knot.
Pull both ends to tighten.
Pro Tip: Avoid using the square knot for heavy loads or critical situations, as it can slip under tension.
- Clove Hitch
The clove hitch is a quick and easy knot for securing a rope to a pole, post, or tree. It’s ideal for temporary fastening, such as tying a boat to a dock or securing a tarp.
How to Tie a Clove Hitch:
Wrap the rope around the pole.
Cross the rope over itself and wrap it around the pole again.
Tuck the working end under the last wrap.
Pull tight to secure.
Pro Tip: The clove hitch can slip if the load isn’t constant, so it’s best for temporary use.
- Sheet Bend
The sheet bend is excellent for joining two ropes of different thicknesses. It’s particularly useful for extending ropes or creating a longer line.
How to Tie a Sheet Bend:
Form a bight (a U-shaped loop) in the thicker rope.
Pass the working end of the thinner rope through the bight from underneath.
Wrap the thinner rope around the bight and tuck it under itself.
Pull tight to secure.
Pro Tip: For added security, tie a double sheet bend by wrapping the thinner rope around the bight twice before tucking it under.
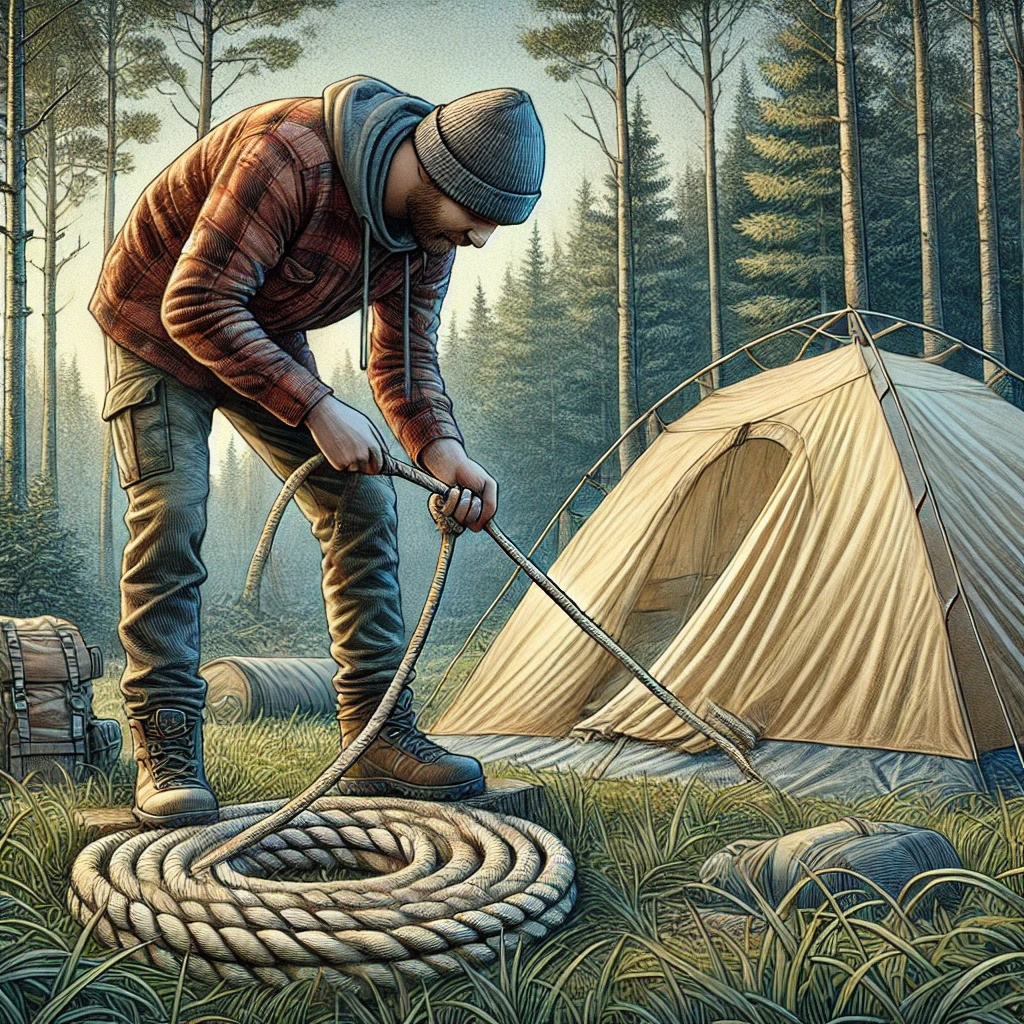
- Taut-Line Hitch
The taut-line hitch is an adjustable loop knot that’s perfect for securing tent lines or other tensioned ropes. It can be easily tightened or loosened as needed.
How to Tie a Taut-Line Hitch:
Wrap the rope around a fixed object (like a tent peg).
Bring the working end around the standing part of the rope twice.
Pass the working end over the standing part and through the loop created.
Repeat the process to create a second loop.
Pull tight and adjust as needed.
Pro Tip: This knot is ideal for situations where you need to adjust tension frequently.
- Figure-Eight Knot
The figure-eight knot is a reliable stopper knot that prevents ropes from slipping through holes or devices. It’s commonly used in climbing and sailing.
How to Tie a Figure-Eight Knot:
Form a loop near the end of the rope.
Pass the working end over the standing part to create a second loop.
Tuck the working end through the first loop.
Pull tight to secure.
Pro Tip: The figure-eight knot is easy to untie, even after heavy use.
- Two Half Hitches
The two half hitches is a simple and versatile knot for securing a rope to a fixed object, like a tree or ring. It’s quick to tie and holds well under tension.
How to Tie Two Half Hitches:
Wrap the rope around the object.
Pass the working end over the standing part and through the loop to create a half hitch.
Repeat the process to create a second half hitch.
Pull tight to secure.
Pro Tip: This knot is great for securing loads or tying down tarps.
- Alpine Butterfly Knot
The alpine butterfly creates a secure loop in the middle of a rope, making it ideal for climbing, rigging, or creating anchor points.
How to Tie an Alpine Butterfly:
Form a loop in the rope.
Twist the loop to create a second loop.
Fold the second loop over the first loop.
Pull the working end through the new loop.
Pull tight to secure.
Pro Tip: This knot distributes weight evenly, making it safe for climbing.
- Reef Knot
The reef knot is a simple and effective way to tie two ends of a rope together. It’s often used for bandages, securing packages, or tying shoelaces.
How to Tie a Reef Knot:
Hold one end of each rope in your hands.
Cross the right end over the left end and tuck it under to form a half knot.
Cross the left end over the right end and tuck it under to complete the knot.
Pull both ends to tighten.
Pro Tip: Avoid using the reef knot for heavy loads, as it can slip under tension.
- Prusik Knot
The Prusik knot is a friction hitch used in climbing and rescue situations. It allows you to attach a loop to a rope and adjust it as needed.
How to Tie a Prusik Knot:
Wrap the loop around the main rope.
Pass the loop through itself to create a girth hitch.
Repeat the process to create two or three wraps around the main rope.
Pull tight to secure.
Pro Tip: The Prusik knot grips tightly under load but can be easily adjusted when slack.
Why Learn These Knots?
Mastering these 10 knots will prepare you for a wide range of everyday situations. Whether you’re camping, sailing, securing a load, or simply need to tie something down, these knots are invaluable tools. Practice them regularly, and soon you’ll be able to tie them with ease, even in challenging conditions.
Final Thoughts
Knots are more than just practical tools—they’re a connection to our past and a skill that can save time, effort, and even lives. By learning these 10 essential knots, you’ll be ready to tackle whatever challenges come your way. So grab a rope, start practicing, and unlock the power of knots today!
Want a natural powerhouse that fights inflammation and boosts your immune system? Meet moringa!